
Once more Razor's Raiders took to the field, in the only available mechs they could cobble together. Having succeeded at securing vital supplies my son's mercenaries were able to get a few mechs in working order, patched together enough to mount another assault on a Lyran supply depot. Dropped behind enemy lines in the year 3002 though, none of his mechs were in perfect working order. The Phoenix Hawk had permanent damage to one of its arms, the Griffin was bearing battered armor from a previous sortie, and Captain Razor's Dragon was harboring a knocked out LRM launcher and half its armor across its torso. Only the Centurion of Sgt. "Snag" Exof was in pristine condition, a status that wouldn't last long once battle was joined.
While my son is using lances pulled from his mercenary commander, I have to deploy forces rolled from a random unit generator table. I built the table to fit both the mechs I have on hand and weight it towards those fielded by House Steiner. Low rolls tend to generate vehicles, infantry and light mechs, while higher rolls grant me heavy and assault mechs. House Steiner has a propensity for fielding higher weight class mechs so I gain a +2 to my 2d6 roll. I've haven't rolled anything that resulted above a 6 yet during this campaign, but I was feeling confident this time. Lady luck smiled on me and my "6 or lower" streak was broken. Naturally, I got a 7.
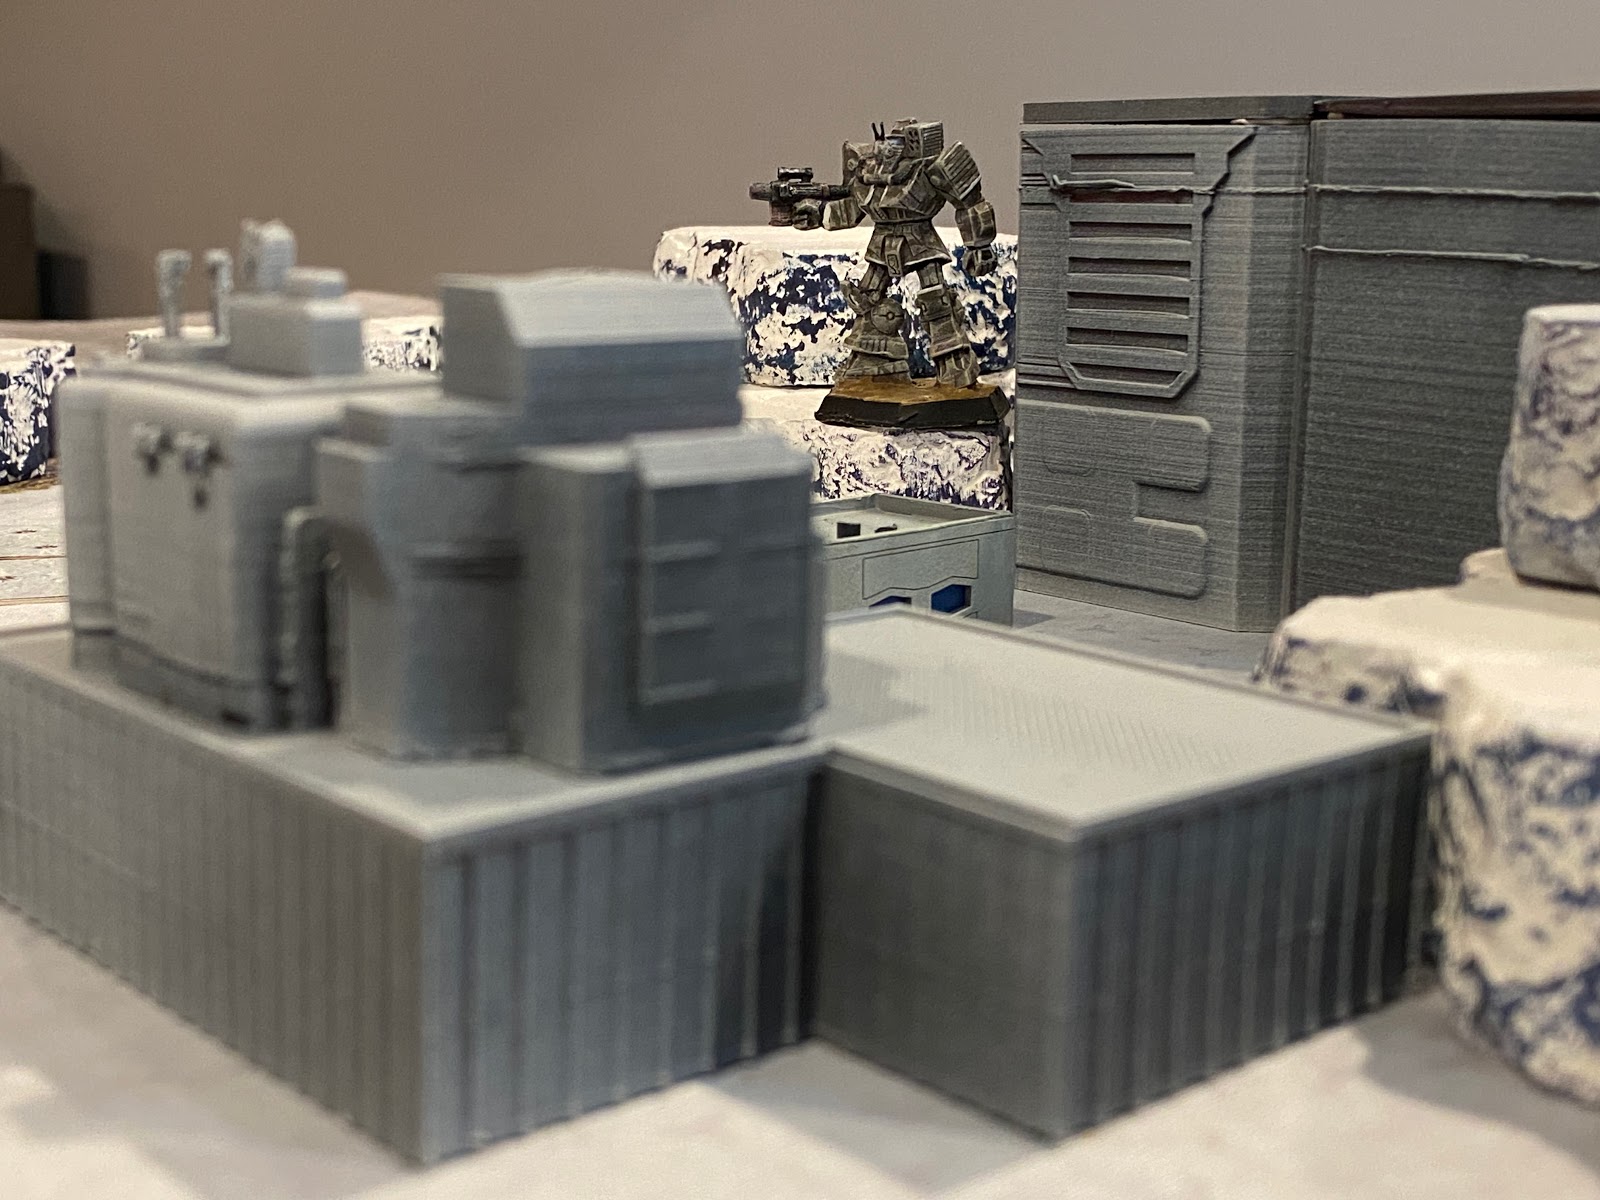
With a new 3D printer spitting out terrain for me, my son's mechs would be raiding a Lyran supply depot defended by my forces: two Commandos, a Clint, Wolverine and two Striker tanks. While outweighed by my opponent, I hoped my greater numbers and the shoddy condition of his mechs would even things out.
 |
| Sigh. I really want to get my Zeus on the table someday. |

I positioned my Wolverine and Clint near the supply depot, intending to use their AC 5s to whittle down the armor of the attackers at long range. I kept one of my Commandos in reserve to pounce once their armor had opened, using the other as a spotter for the LRM carrying Striker tanks.

 |
| A view from the west. My Striker tanks ready to deliver indirect fire, their Commando spotter taking cover to the north. |
Of course this strategy left only my Clint to defend the supply depot. After coming under murderous long range fire he couldn't hope to counter for long, he used jump jets to take cover behind one of the supply buildings.
 |
| "Clint Eastwood? What kind of stupid name is that?" "Everybody everywhere will say, "Clint Eastwood is the biggest yellow-belly in the West." |
Seeing the threat posed by the merc's advance my Wolverine shifted and fired several ineffectual AC5 rounds at the Dragon and Phoenix Hawk as they played cat-and-mouse with my Clint.
 |
| The mercs strike the outer supply yard, the Clint just barely visible behind one of the depot buildings. |
To the north my Lyrans were having more success. My Commando delivered a devastating short range barrage, hitting with all of its weapons, along with an SRM volley from the Wolverine. Great molten slags of armor fell away from the Griffin, revealing the delicate inner workings of its myomer musculature. She may have escaped last time, but Sgt. Pepper's Griffin would be going down tonight!

The mercs deployed into the supply yard, taking time to scan the buildings to identify which had the valuable armaments they'd need to secure to continue the campaign. Leaving the Griffin to my Commando, I hopped my Wolverine into a geyser field whose sudden eruptions would grant me cover from the mercs. Having failed numerous indirect fire attacks with my Strikers I also pulled them into direct line of sight of the mercenaries to bring their full complement of weapons to bear.

Both of my Commandos managed to close on the wounded Griffin, forced to leap atop the central hill to escape them.


With their scanning mission complete, the mercs began falling back, ready to deliver the intel to the guerilla team that would sneak in later to steal the vital supplies.
My Wolverine, largely untouched thus far, charged into close range to strike with its SRMs and medium laser at Captain Razor's Dragon.

In return it was attacked by the Phoenix Hawk, who savaged it by scoring two back-to-back head shots with its medium laser and machine gun! Rocked by the impact, the Wolverine pilot stayed conscious but was certainly aware that another lucky blow could end him.
Captain Razor stayed behind in his Dragon while the wounded Griffin and "unhelmeted" Centurion headed for the escape point. We paused the game for a few minutes to discuss the definition, pros and cons of a "fighting withdrawal".

One of my Commandos charged towards the retreating Griffin. Surely one more solid hit would put it down! Taking aim he unloaded with an alpha strike of SRMs and a medium laser. This being a frozen world and the mercs choosing to attack during a cold snap, there was a potential for the frigid temperatures to disable weapons on a roll of snake-eyes. As my Commando pilot pulled the trigger, alarms sounded as both of his SRMs jammed in the cold.
The Griffin returned fire, delivering a PPC bolt that struck the Commando's central torso, burning through its remaining armor and delivering two critical hits to its gyro. The 25 ton mech toppled to the ground in flames.
 |

Despite my inability to deliver death blows to his mechs, my son was starting to get nervous. He had completed the primary mission, but needed to get his mechs to safety. His Griffin and Phoenix Hawk were using their jump jets effectively to get closer to safety, but the slower Dragon and Centurion were being left behind. Both were bearing huge rents in critical armor where a solid blow could destroy the mech. Seeing their vulnerability, both pilots gunned their throttles in an attempt to reach the safety of the western escape route.

As the mercenary mechs converged on the only escape route, they entered an open field devoid of cover. My Lyran Strikers emerged from around a hill, ready to deliver long range artillery fire.

Putting its back against a cliff face, the Centurion fell under a vicious barrage of short range missiles to its front but suffered only scattered hits across arms and torso.

The Clint and Wolverine steadied their aim and fired a pair of autocannon shells that impacted the Griffin, but failed to hit internal structure.
 |
| The Griffin just wouldn't die. Like Rasputin. |
Positioned right at the edge of the battlefield the Griffin and Phoenix Hawk were poised to escape, but delayed to grant the retreating Dragon and Centurion covering fire.
As the Centurion reached the escape route, the Lyrans turned their full attention on Sgt. Pepper's Griffin. The Clint, now sporting critical hits to its torso, failed to land a long range hit with its autocannon, and missed a punch at the Phoenix Hawk who had jumped into short range. The Phoenix Hawk deftly delivered a devastating kick to the Clint, rocking the 40 ton mech whose pilot struggled to keep it upright.

Now obsessed with downing the Griffin, the remaining Commando and Striker tanks drew into short range, locking on with SRMs. Vapor trails streaked towards their target, but Pepper juked the missiles, darting out of their path and countering with a PPC hit against the Commando well under the weapon's minimum range. The Lyran commander cursed (to himself. There were children present).

The mercenaries began to fall back to a defensive position, wedged into the lee of a low ridge that offered some protection. The Phoenix Hawk and Centurion turned their attention to the Clint, the flurry of lasers and autocannon rounds shearing off both of its legs. Cut nearly in two, the Lyran pilot shut down his mech and crawled from the wreckage.

Furious at the loss of another mech, the Lyran commander ordered his remaining Commando into a nearly suicidal charge, a last ditch attack to take out the Griffin before he'd sound the retreat.

The light mech darted into a gap in the mercenary lines to fire SRMs at point blank range. While a few missiles struck home, they failed inflict critical hits or down the Griffin. The combined return fire from the mercs legged the Commando, which toppled in a heap.
Peering through the smoke of three burning mechs and finally comprehending the totality of his defeat, the Lyran commander ordered a retreat to the remaining Strikers.
 |
| "Yuuuge success. Everyone's saying they've never seen success like this. Tremendous." |
Aftermath
Wow. I managed to snatch defeat from the jaws of a draw. After a number of rousing games this one felt more like a meat grinder. My forces were not optimized and did not work well together. I had lots of weapons that could spray damage, great for inflicting crits on already damaged targets, but I didn't have anything with real punch. I was hoping to open holes up with the AC 5s from my Clint and Wolverine, but they just don't have the impact necessary.I don't want to heap blame on the dice, but the dice gods were definitely taking sides in this match up. Over the course of 8 rounds my Strikers only landed one or two hits each. I locked up three different weapons from the cold, and my son scored three head hits to my one. Heck, he cored a nearly pristine Commando in one shot!
Despite all of that, I got a serious case of tunnel vision in attempting to take out his most wounded mech—the Griffin. One they'd completed the mission I should have played far more conservatively, and sending my Commando in the lion's den on the last turn was the height of foolishness. Still, props to my son. He agonized over the decision to retreat the Griffin or risk it to protect the Centurion and Dragon falling back to their lines. His luck with the dice and ability to use the Griffin's jump jets to keep it moving managed to keep it alive and deliver killing blows on multiple mechs. The Phoenix Hawk was a star player as well, blasting the armor from the Wolverine's head at close range, blowing legs off the Clint and always jumping where I didn't want it to.
With their resounding victory, the mercenaries have captured enough supply resources to repair crippled mechs, salvage heavy mechs or lighter and rearm autocannons and missiles. By holding the field at the end of the battle they were also able to salvage both Commandos, the Clint and take all three mechwarriors prisoner, an utter disaster for the Lyrans defending the world. Those early missions on this Lyran world were nearly the end of Razor's Raiders, but with a firmly established base the mercs are in a position to cripple Lyran defenses on Parakoila and strike at their primary objectives — capturing Battlemech X.
Wow 😳 I can’t say how much I’ve enjoyed reading this, it’s like a book. Haven’t missed an episode of this tale. Some great action, some really good ideas are working out well to make this a fun and interesting campaign. The cold, having to scavenge for parts, and the Mercs have taken good advantage of this. Well done.
ReplyDeleteCheers
Kevin
So glad you are enjoying it Kevin! We're having a lot of fun, and I can sense the campaign on this world drawing towards a climax. :)
DeleteGreat batrep. The whims of fortune seem to be toying with you these days much as they were mocking me. Losing is fine but when the dice don't give you a fighting chance it's really frustrating.
ReplyDeleteAs always, looking forward to the next installment.
Thanks Ski! The wheel of fate always comes round. I have a feeling it will sway back in my favor in our next match up :)
DeleteIt's so hard not to gamble on a good roll finishing off a damaged foe. I've wrecked a fair number of mechs, dungeon delvers, tanks, divisions, and assorted other playing pieces by trying to pull total victory out of "good enough."
ReplyDelete