

With a successful recon mission under their belt, my son's mercenaries - Razor's Raiders - were able to identify the mechs and vehicles guarding their next target before committing to an attack. Rolling for my forces in the open my son knew I'd be fielding a pair of vehicles, three light mechs and a medium. With the battered state his mechs were in though, he was unsure if he should proceed. I reminded him that'd I'd rolled a 4 on 2d6, and it was unlikely that aborting the mission would result in a better array of units he'd be facing. Weighing his options, and desperate for the parts guarded by my units he grimly committed to the battle. And what a battle it turned out to be.

I deployed my meager Lyran security detail around the storage depot my son would need to scan so saboteurs could later infiltrate it and steal the supplies Razor's Raiders required to repair their damaged mechs.
My commander directed the action from a battered 55 ton Wolverine, still sporting armor damage to a leg from an earlier battle. A Stinger and two Commandos made up the rest of the lance, also fielded with a few points of armor damage. A pair of tiny Savannah Master hovercraft (able to accelerate to a whopping 20 movement points) would be available for harassing any attackers.

The orientation of the map left my son's mercs within range on turn one as I raced my light mechs to stop them. One of my Commandos opened up with a salvo of SRM missiles, the first attack of the game that all hit the merc's Phoenix Hawk in the left arm. A 12 rolled on the critical hit table sheared it right off, a dismaying start to the attack for Razor's Raiders.

My Lyran Wolverine stayed in reserve, taking cover behind a building and sending the remaining Commando and hovercraft to attack the merc's Dragon heavy mech, the command battlemech of Captain Razor himself! With the Dragon in cover, and sporting relatively intact armor, I hoped a lucky shot using the punch chart for mechs in partial cover could score a head wound and take the commander out of the battle.

The Dragon had lost its LRM in a previous battle, but managed to score a few hits with a medium laser and AC5 on the Commando that raced into range.

Like wolves hunting prey, my light mechs swept around the merc's advance, threatening their rear armor and forcing them into the only safe spot, a ridge that overlooked the supply depot. The Phoenix Hawk and Griffin used jump jets to get into position while my Wolverine shifted to meet the new threat.

On my flank, my Stinger and Commando concentrated on the Centurion that had fallen behind. A critical hit a leg actuator gave them some hope, but a kick attack delivered to the Commando sent it to the ground from the force of its impact.

My light mechs continued their assault. Hovercraft, Stinger and Commando converged on the Centurion hoping to put the wounded beast down. It shrugged off all attacks and with a single lucky shot from its rear facing medium laser touched off the Commando's SRM ammo stores. Even using our more forgiving ammo critical hit house rule didn't help, as the ammo explosions continued to explode ripping the light mech to pieces. Score one for the mercenaries!
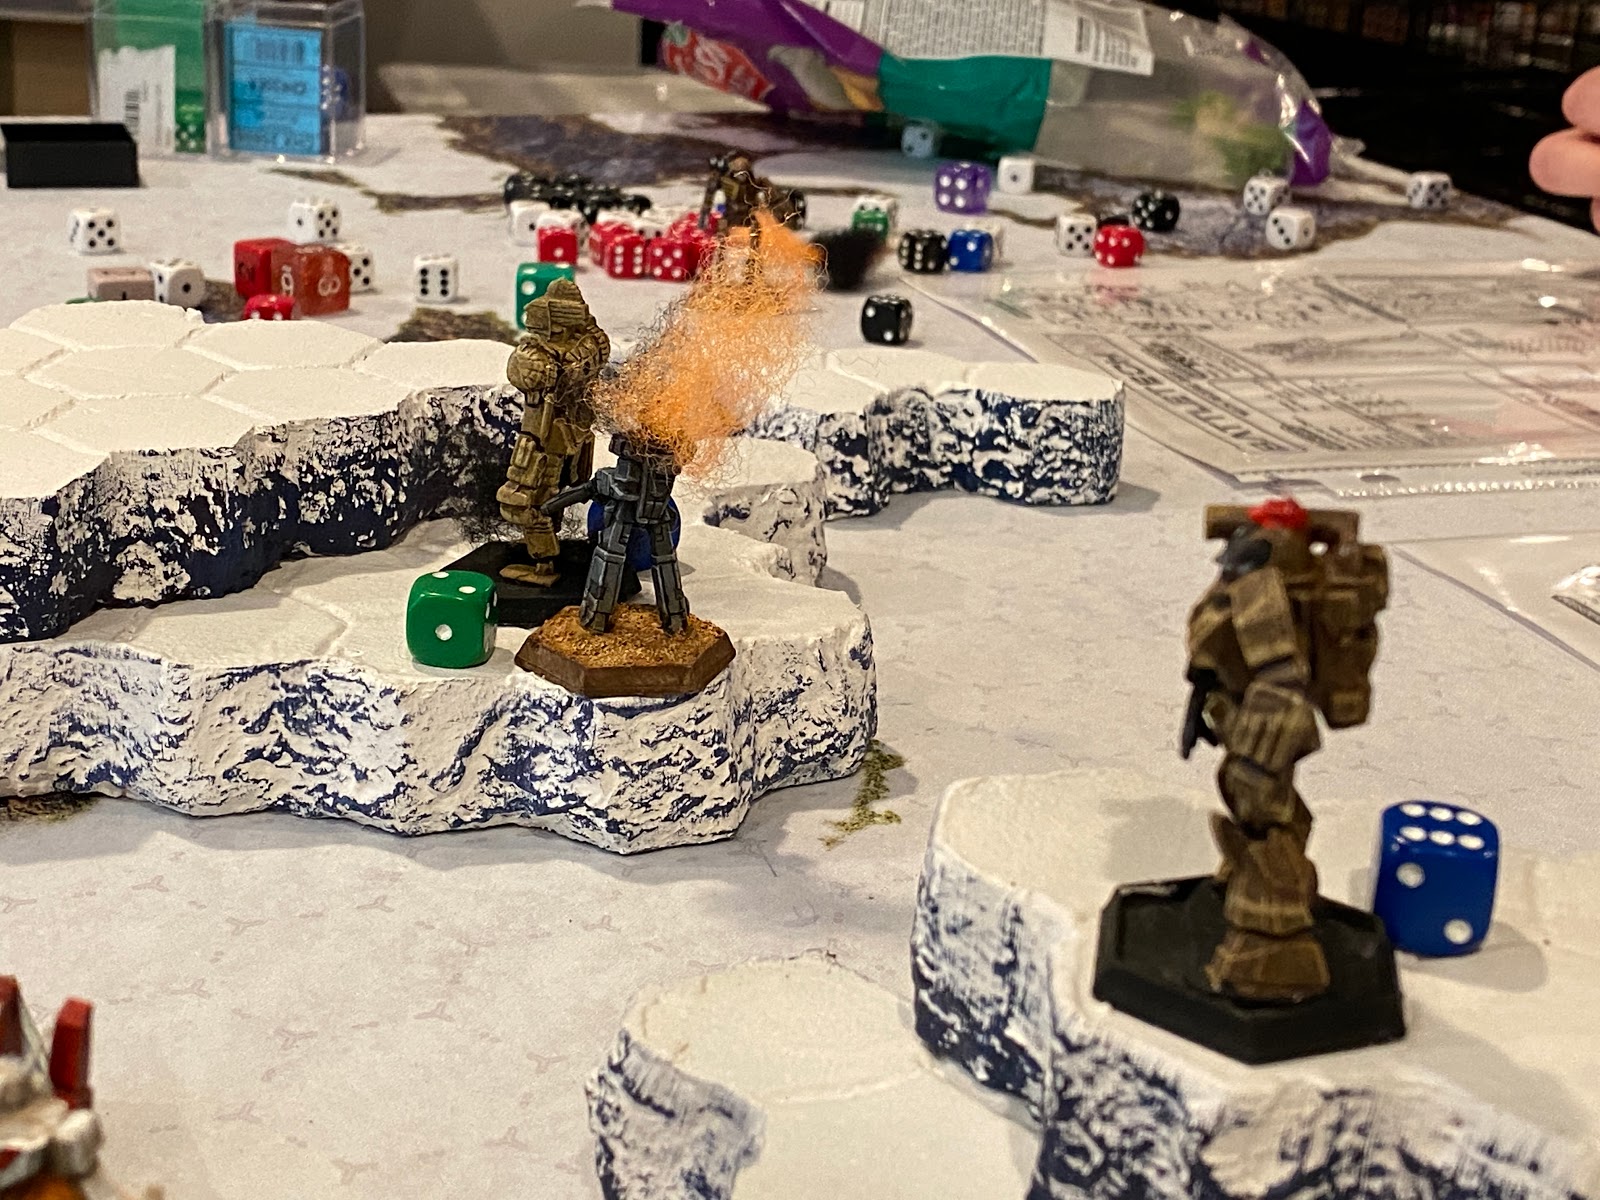
Sensing an opportunity though, I sent the other Lyran Commando into close combat with the mercenary Griffin. Declining to use any arm mounted weapons, it peppered the Griffin with an SRM 4 before using its momentum to deliver a mighty shove!
 |
| Griffin got yeeted |
The Griffin toppled over the edge of the escarpment, falling four stories and suffering 18 (!) points of damage. The Lyran's weren't out of this fight yet.

As the mercenaries began swarming the supply depot a fortuitous initiative roll allowed my commander to maneuver his Wolverine into a prime position to attack the Phoenix Hawk's battered right side. A conclusive attack here would rob it of its remaining weapons and inflict a morale penalty on the mercenaries. I rolled my alpha strike.

For the second time in this campaign the subzero temperatures of this ice world locked up my heavy's weapons. Alarms sounded in the Wolverine's cockpit as its medium laser shorted out and its autocannon seized up from the extreme cold.
A precise AC5 round fired by Captain Razor struck home knocking out the Wolverine's SRM. Things were looking desperate.
Now weaponless, the Wolverine turned its 55 frame towards the Dragon heavy mech and accelerated, intent on delivering a crippling charge attack.

Seeing the threat, the Phoenix Hawk pilot angled his nearly wrecked machine towards the charging Wolverine and raced after it, shooting lasers and machine guns into its light armor in a desperate bid to halt the Lyran commander. Captain Razor turned his heavy Dragon mech and sliced a molten scar across the Wolverine's torso with a medium laser, the total damage striking the Wolverine forcing a piloting check to remain upright.
I snatched up the dice and quickly snapped off two of them to get the simple piloting check of a 4 or better over with so we could get on to the physical combat phase and my epic charge attack. Naturally I rolled a 3.

The fusillade of fire directed at the Wolverine caused it to wobble, then topple over, its momentum carrying it forward and digging a trench of dirt as it finally slid to rest at the feet of Captain Razor's Dragon. Both mercenary mechs unleashed a torrent of kicks and stomps to the downed Lyran mech.
Across the map, the Centurion continued to swat at the remaining Stinger to little effect. Angling into position the Griffin was able to land a solid blow to the rear armor of the Stinger with its PPC. Rolling three critical on its center torso knocked out its engine in one hit.

With three light mechs down, the remaining Lyrans called the fight and retreated from the field.
Aftermath
This was a fantastic game! Despite losing, the seesaw nature of it, the epic pushes and charges, the incredible long shots that blew mechs to pieces in one blow made for an exciting and cinematic game. I love the 3025 era and using the campaign rules forces both us to go into battle without optimal lances. Stripped of armor, suffering ongoing penalties, and missing weapons make every game feel like we're riding a knife's edge. The morale rules we are using also help bring the game to a definitive conclusion beyond just destroying or crippling all enemy mechs.As for Razor's Raiders, now that they've secured a supply depot they'll be able to make hasty field repairs to damaged mechs. Crippled mechs will still be beyond their repair capabilities for now, but the tenuous foothold they've had has become a bit more secure. Controlling the field also allowed them to salvage the Lyran Stinger which they'll stash in a mountain cave until they can get acquire more supply resources to repair its obliterated engine shielding.
These Battletech campaign reports are some of my favorite blog posts. It's always a treat when another one appears. Very impressive!
ReplyDeleteThanks Andrew! Glad someone is enjoying them :). My son has been eager to get our next session in, so expect another report soon!
DeleteThe continuing saga, another fun read, I was at the edge of my seat and had to keep from cheating and rolling to the bottom to see what the outcome was. Heart pounding action!
ReplyDeleteCheers
Kevin
Ha! Glad you liked it, it was a great game. :)
DeleteGreat game! Your Wolverine charge reminds me of a game where I tried to use a Stinger LAM in airmech mode to ram an Atlas. Would have done something like 40 points of damage to it but sadly got shot down just short of the target!
ReplyDelete