 |
| Hail Caesar Romans ready for battle |
My buddy Mark was in town for the holidays, and with a handful of complete (or nearly complete) figures ready to go, we decided to take a shot at Hail Caesar to run through the rules, roll some dice and throw some barbarians and Romans together and see the sparks fly. Check it out after the jump...
Deployment
This was just a quick "skirmish" to figure out rules and the very basics. I ran the Romans (three units) who faced off against two units of German warbands and a unit of Numidian light cavalry. With so few units we played on very small table, with a scattering of woods on the left and right, and a hill in the center. I also didn't feel we needed actual commander figures so we simply incorporated the command rolls and ignored the rules concerning commander placement, or bolstering units.
I deployed two units in line with the third behind as a reserve. The barbarian hordes spread out to attack the Roman flanks.
 |
| Initial Deployment |
Round 1
Having actually read the rules, I took the initiative and made my first tactical blunder. Tempted by the +1 to hit bonus of fighting uphill, I gave my division the order "Take that hill boys!", made my command roll and then realized I had ordered the entire division, including my reserve. Doh! Oh well, I'd be able to back my reserve off the hill next round.
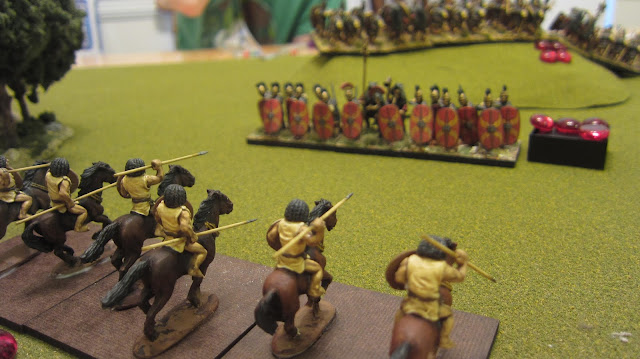
The hairy barbarians took advantage on my mistake. The cavalry gained three moves on their command roll and moved into a position to attack the Roman rear (whoops! Second mistake was forgetting the proximity rule as the cavalry drew close to the Romans. I figured they were due a larger table and probably could have maneuvered into place so gave it to them).
The warband on the flank also managed to get moving, but those directly to the Roman front hung back, squeamish at the prospect of attacking uphill against their well defended adversaries (botched that command roll).
 |
| Round 1 |
The Romans played conservatively in the next round, spending 2 moves to get their rear line turned around and in position to face the expected cavalry charge.
The barbarians had better luck, the cavalry and flanking warband charging into contact, while the barbarians to the Roman front still hung back with a failed command roll. The initial round of combat found both sides inflicting hits, but with no conclusive outcome, but the Romans in a much weaker tactical position.
 |
| Round 2 |
I wasn't quite sure if the Romans being attacked from the flank could change position, and after a quick scan of the rules without luck decided to force them to stay in position and fend off their hairy, naked adversaries with half dice due to the flank contact.
 |
| Round 3, recoiling cavalry just before being driven off. |
In the ensuing combats, the Roman rear guard managed to drive the light cavalry off the table, but the German warband crushed the right line and swept up the hill falling just short of contact with the remaining Romans.
Round 4
With the screaming hordes closing in on them the Romans withdrew off the hill, the rear guard failing a command roll to turn and get into position and managing only a single move backwards because of their Elite quality.
 |
| Round 4, Romans |
The Germans charged down the hill, the flanking warband having to move into a support position behind their brethren. Combat found the Romans taking the worst of it, but holding strong.
Round 5
The Romans finally got the rear line into a rear support position, but the tide had turned. The next round of combat saw the Romans suffering an additional 6 hits (!), putting them at 10 total and forcing them to withdraw to the very edge of the battlefield.
 |
| Round 5, recoiling to the very edge of the table. |
The Germans swept down after them and the final round of combat broke the Roman front line and saw the support unit fail their break test and flee off the table.
 |
| The death blow |
So, a resounding victory for the barbarians, but a fun game for all. It was great to finally get some dice rolled, and I just need to do another review of the rules to check the bits I wasn't sure on.
I need to finish off a the cavalry and german bases and paint up some damage and disorder counters and a "winning side" victory marker. Looking forward to my next game. :)


Excellent beginner scenario's and nice to read as well! I linked to your scenario's, they're very helpful for our wargames club in Amsterdam, Holland.
ReplyDeleteSo glad you enjoyed it! Thanks for the compliments :)
Delete